
That said, journals are often very expensive! There are tons of gorgeous handmade options on Etsy if you're looking:
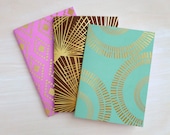 Foil Stamp Pocket Journ...
$17.00
| 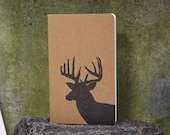 Deer in Profile - Moles...
$10.00
| 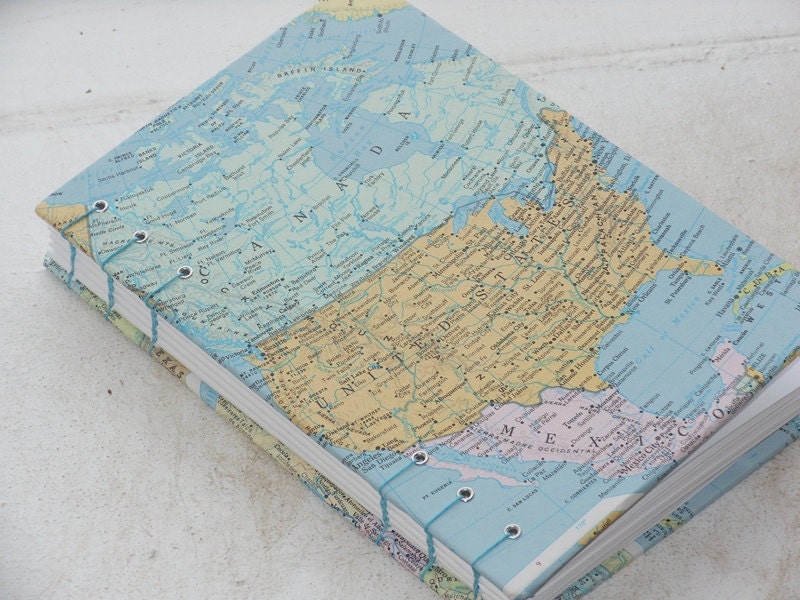 Coptic Bound Travel Jou...
$33.00
| 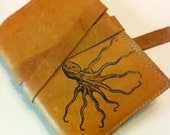 small leather journal h...
$15.00
|
However, it's also easier than you think to make your own journals at home, and you probably already have all the supplies you need! You can use any kind of paper you'd like, depending on what you plan to use the book for.

For my journal, I chose to use cardstock for the cover and 5 sheets of water color paper for the inside pages. Other than your papers, all you really need is a sharp needle, some very strong thread (strong enough that if you loop it around your fingers and pull, you won't be able to break it without it cutting into your fingers), and either a bone folder or a ruler.

The first thing you need to do is cut all of your paper to the same size. I wanted my finished journal to be 4.5" by 5.5", so I cut my paper to be 9" wide and 5.5" tall. Then fold each sheet in half.

Using a sharp needle, poke 3 holes in each sheet - one about 3/4" from the top, one in the center, and one about 3/4" from the bottom. Then thread your needle, and insert it through the center hole, starting from the inside of your book and ending on the outside. Leave a long tail (about 3") of thread dangling inside the book.

Next, insert the needle in the top hole, starting from the outside of the book and ending on the inside.Then insert it into the bottom hole (starting inside, ending outside), and then back through the center hole (starting outside, ending inside). Cut the thread, again leaving a tail about 3 inches.

Tie the two tails of thread together inside the journal, then clip them close to the knot. Fold the journal along the spine and use a bone folder or ruler to go over the crease a few times to ensure that your journal will lay flat.

You can then decorate the cover of your journal however you'd like - I added a stamped circle of a coordinating color of cardstock (anatomical heart stamp from Blossom Stamps on Etsy).
I also think that these little books could be adorable monogrammed, or made with patterned papers, and used as a stocking stuffer for the holidays. Make one for yourself to brighten up making your grocery lists, to toss into your purse, or to record your New Years Resolutions.
These are the simplest type of DIY journal. If you're interested in bookbinding, you'd be surprised at how easy it is to make even your own hardcover, bound books. I make many different kinds of books for my own use - if you'd like to learn how, feel free to comment or send me an email and I will point you to some resources!
Hope you are having a wonderful day!
Great tutorial! And I love the idea of making these as simple gifts for friends...will definitely be doing that! How fun!
ReplyDeletexo
Melyssa
http://thenectarcollective.com
Thanks, Melyssa! I just took a look at your blog and I absolutely LOVE the leather journal you made. It looks amazing - I might have to make one myself!
Delete